

How To Install Umbraco Cms
In this tutorial, you will learn how to install Umbraco v9 using the .NET CLI tool. Released on the 28th of September 2022, v9 is the start Umbraco release that fully supports .Cyberspace Core. I volition show yous how to set up a evolution surroundings on your Windows PC and then I will walk yous through the required steps to install Umbraco v9 and a sample site. The slap-up affair virtually v9 is that it is fully .Cyberspace Core compatible. This means that if y'all are an Apple tree fan, you lot can now build Umbraco sites on a MAC. Even though y'all can build Umbraco sites on a MAC, pretty much 99% of Umbraco developers come up from a Windows background. This is why this guide is aimed at Windows users. This guide volition assume you are using a Windows automobile as well 😊😊
PRE-REQUISITES
Before you can get Umbraco up and running, you need to ensure that your PC has all the recommended pre-flight checks covered. In elementary terms, you need to have the correct software installed earlier Umbraco will work. Earlier trying to install V9, make certain you have all of these pre-requisites installed locally:
- ASP.Internet 5: This is needed to ability the framework
- .NET CLI: This volition be installed while you install ASP.Internet 5
- Windows Hosting Parcel: This is needed to allow you to host your website in IIS
- Microsoft Visual Studio 2022 version sixteen.8 or higher: Umbraco will not install otherwise!
- IIS
- SQL Server 2022 with SSMS
- Docker (optimal)
If you work with .NET Cadre a lot, you will likely have virtually of these pre-requisites installed already. For this walk-through, I volition testify y'all how to install Umbraco via the terminal alone 💥💥. To practise whatsoever development work, I nevertheless recommend using Visual Studio. If you desire to apply Visual Studio it must exist patched to the correct version otherwise things will not work.
DATABASE CONFIGURATION
When Umbraco installs by default, information technology will install the database within your websites App_Data binder. In society to get a sample site up and running rapidly, a file based SQL database will suffice, notwithstanding, if yous desire to work optimally you lot will be improve off hosting the database within SQL server. When your database is hosted within SQL, yous tin use SSMS to brand back-ups, perform SQL queries and transfer information to remote sources (like Azure) hands.
Installing a SQL server locally is simple enough, y'all need a few things
- Install SQL Server Express (with SQL Server Management Studio)
- Set SQL server to all mixed-mode authentication (SQL and Windows Hallmark)
- Set up a SQL account (you lot could use the sa account)
If y'all use 'sa' make sure the business relationship is enabled and allowed for remote access. Create a blank database that the Umbraco install can use later
IIS Set-Upwardly
If you can simply access your site solely when the Visual Studio debugger is running, or when doing a dotnet run and then you will not be working in an efficient way. Relying on these methods to view the site will crusade a lot of hassle. If you demand to launch Visual Studio every fourth dimension you want to view the site, you will be wasting valuable time. Instead, information technology will exist a lot more useful if you configure a local webserver to allow your website to exist accessible 24/seven via a web browser (without the need for anything else to be running in the background).
Installing a webserver (IIS) and setting upwardly a website is like shooting fish in a barrel, however, you will also need to configure a local hostname. This hostname is the URL that you will type into a browser to access the website. In order to set up a hostname, you lot volition need to add together an entry inside your host file. The host file is located here:
C ➡ Windows ➡ System32 ➡ etc ➡ drivers
You lot will only be able to update the host file in a text editor that has ambassador privileges. Within the host file, you need to create a map between your chosen hostname to localhost (127.0.0.i). Creating this map will mean that when someone types in the hostname in a browser, the request will be redirected to the local web server, instead of the internet. The hostname will be used to route the request to the correct website in IIS. To create this mapping is uncomplicated, add the IP accost 127.0.0.ane first, add a tab and then add your chosen hostname, similar this:
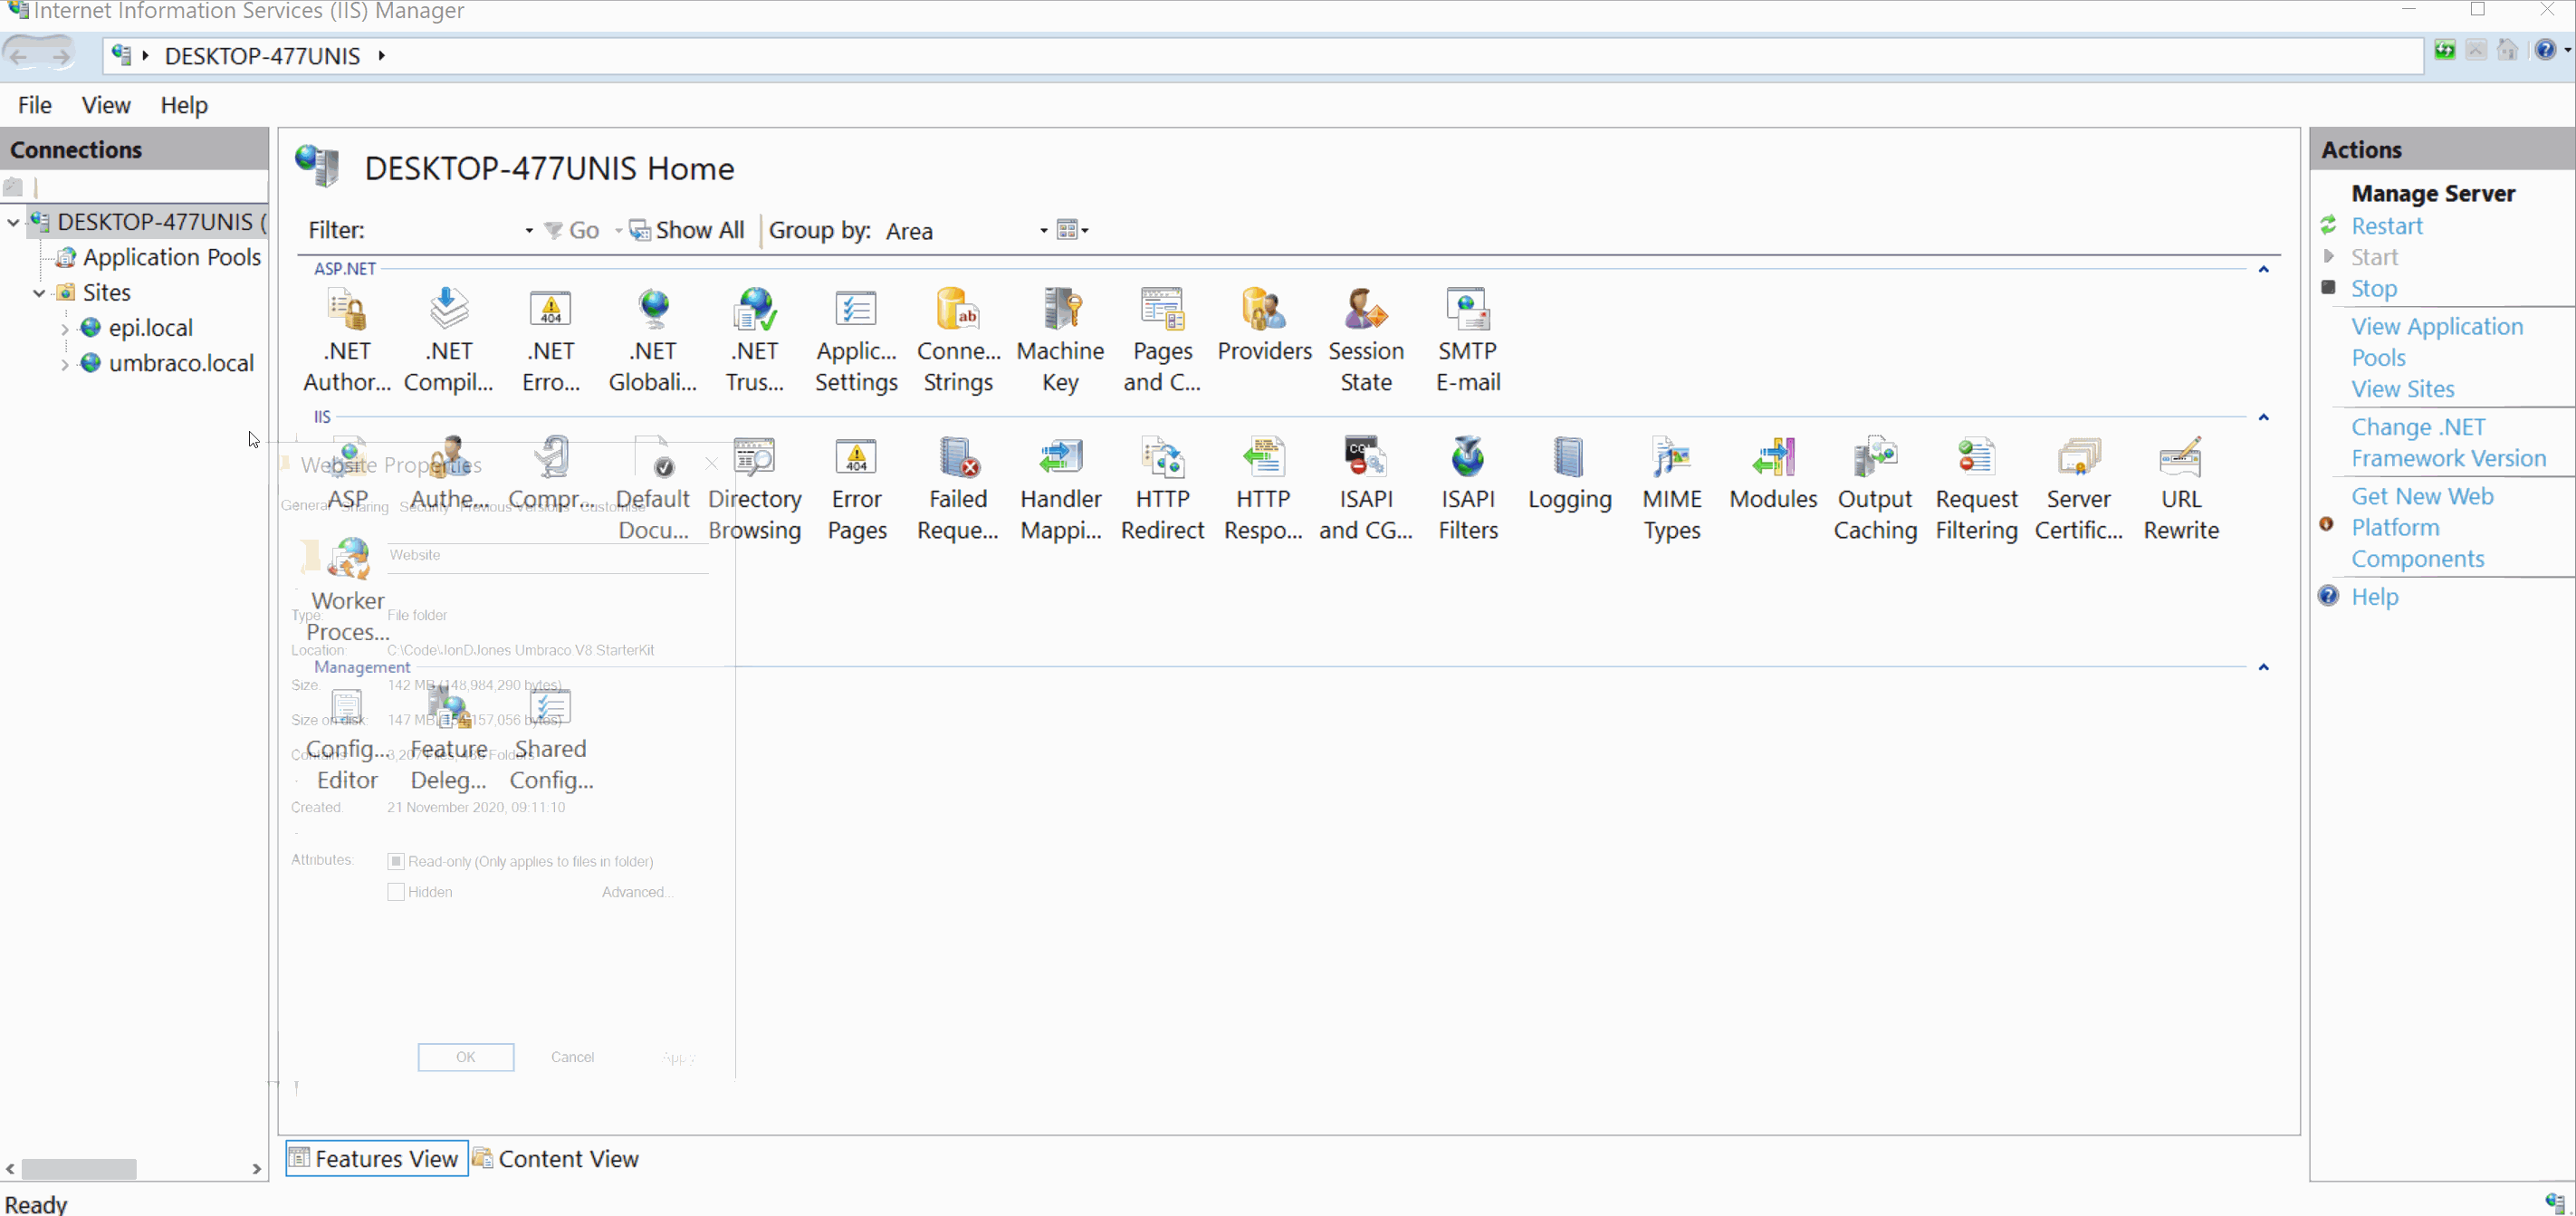
Now, when you lot type http://myWebsiteUrl into a browser the request should load your website. As you have yet to install Umbraco you volition know it has worked if you encounter an error (usually a 403 mistake)! Within IIS y'all will demand to create a new website. In order to create a new website, you need three things, a name, a folder location and a hostname. Telephone call the website in IIS anything you want as you will be the just person viewing information technology. Use the hostname you created above. Finally, point the folder location to the expanse on your PC where you lot will install the CMS files shortly.
When trying to view your website, it is too possible that you will bump into a Windows file admission permission mistake. To fix the permission error you demand to set the correct folder permissions on your web folder. The easy way to set permissions is within IIS. Correct-click on the website entry and select permissions. The permissions I recommend you add are:
- NETWORK SERVICE
- IIS AppPool\ApplicationPoolName
CONFIGURING UMBRACO
From v9 onwards, there is a new mode to install Umbraco via the CLI. Beingness able to install Umbraco solely within a terminal makes me happy 😃. In example you lot are worried most having to acquire lots of new syntaxes, all you really need to know is three commands to get Umbraco upward and running. As we install everything via a terminal it is also much quicker than before 😍.
In a terminal, make certain y'all navigate to the folder where you desire to install the site. Yous are now ready to enter in your first command! The first command will install the Umbraco template. You tin can then use the template to install Umbraco. Installing the template is done using this control:
With the Umbraco template installed, yous can now create a new Umbraco project using this control:
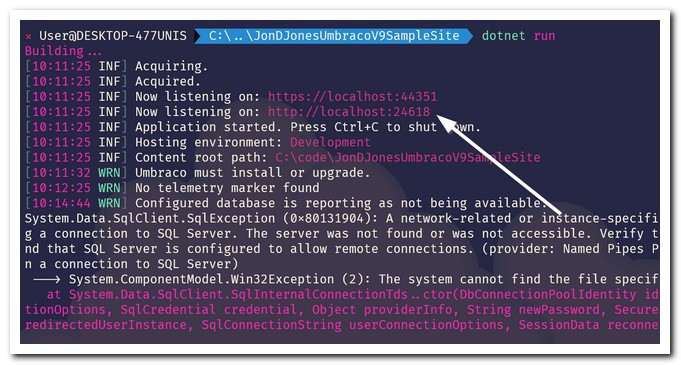
Where MyProject should be replaced with your project proper name. The installation process took me about 2 minutes so it is super-quick. Later on doing this, you can run and first your new Umbraco V9 website using this concluding command:
When the site starts, the URL that yous will need to use to load the site volition exist displayed in the terminal window:
INSTALLING THE CMS
Later on typing the URL into a browser, the Umbraco installer will start. On the get-go screen, you will need to create the admin business relationship that you will utilize to access the backend (/umbraco). On the adjacent screen, you will decide where to install the database. Select the SQL server y'all installed in the pre-requisites section, the SQL username and countersign you created before and the database name:

If everything has gone according to plan, the Umbraco backend should load automatically. If not, add together /umbraco to the end of the development URL and you should see the login screen. Employ the admin username and countersign you created during the Umbraco installation procedure to log in:
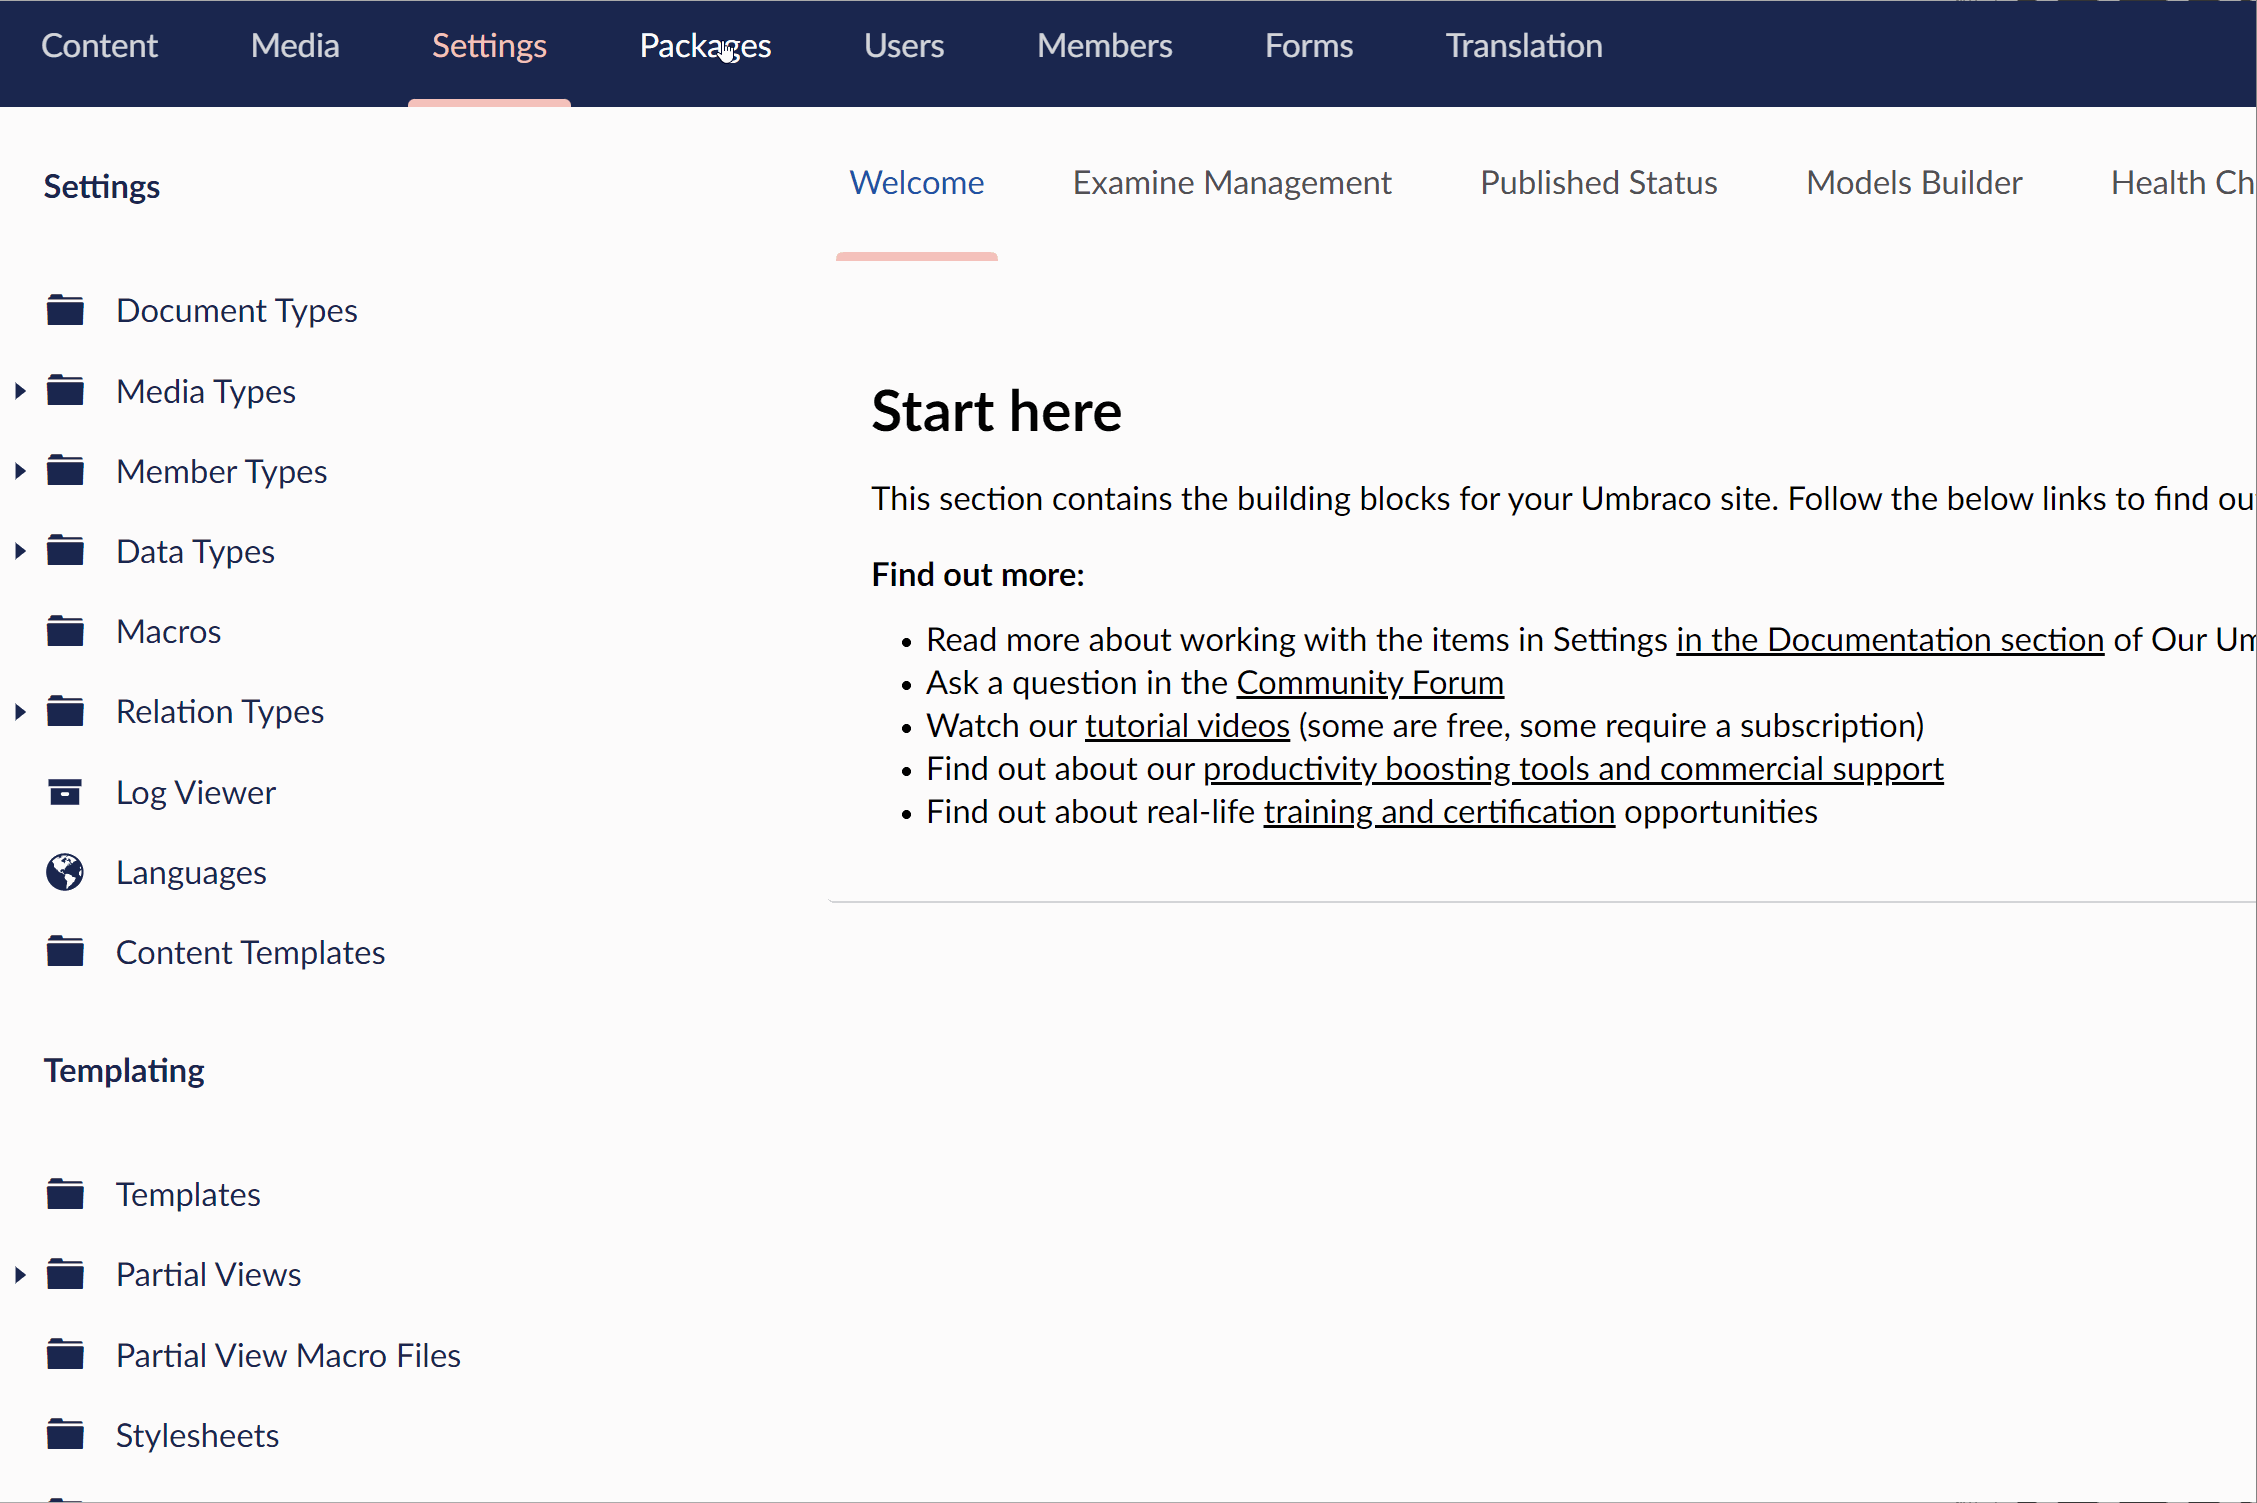
When Umbraco offset installs it will be very vanilla and empty. You will accept a blank slate to outset with. A bare slate is neat if you are a Umbraco ninja 🐱👤. A bare slate is not nifty for Umbraco newbies. If y'all are new to Umbraco, I recommend you install a sample site to make your life easier. Installing the sample site is expressionless simple and takes minutes. In the Umbraco backend, go to the packages section and navigate to the starter site tab:
Equally you lot can run into, you will become admission to the command required to install the sample pages:
Copy the command and run it in a terminal. Now re-build the solution:
When the website re-loads, the homepage should be replaced with the starter kits homepage:

You should non be in a much better position to kickoff learning about the mightly ability of Umbraco CMS 💥💥💥
CONFIGURING IIS
The terminal task is to finish hooking upwards our new site in IIS. We take a website in IIS created, however, there are a few extra steps required before it our site will resolve correctly. Let the states set up that. .NET Core works slightly differently compared to the archetype ASP.Net framework. First, you need to install a new .NET core IIS module. Ensure yous have the Windows Hosting Packet (download here) installed. After installing this module, y'all will either need to reboot your PC, or you volition demand to reboot IIS. You can reset IIS in a terminal, using these two commands:
The next step is to brand sure that the application puddle CLI blazon is fix to No Managed Code:
With the awarding pool set upwards correctly, you at present demand to publish the solution. Publishing the solution will requite y'all the web.config and all the files required to run the site. This tin can be done in the terminal using this command:
At the finish of the publishing procedure, yous should come across the output folder location in the final log. On my laptop, my files were located in this folder:
C:\POC\umbraco9\bin\Debug\net5.0\publish\
Prepare this location every bit the principal website folder location in IIS, similar this:
That's all there is to become a Umbraco v9 sample site up and running and ready for evolution. Even though the process is slightly unlike compared to previous versions of Umbraco, after you lot get used to the CLI commands you will appreciate how much easier and quicker it is. This has been episode ane in my Umbraco v9 series, keep your eyes peeled for more than 👀👀 Happy Coding 🤘

Source: https://www.jondjones.com/learn-umbraco-cms/umbraco-9-tutorials/getting-started-with-umbraco-9/how-to-install-umbraco-9-and-setup-a-development-environment/
Posted by: gablerhoudy1951.blogspot.com
0 Response to "How To Install Umbraco Cms"
Post a Comment